Great Sand Dunes National Park offers unique photographic opportunities with its vast sand dunes and diverse landscapes. Capturing the beauty of this park requires specific camera settings, techniques, and equipment. This guide provides comprehensive information on optimal camera settings for different times of day, recommended gear, and tips for capturing the park’s stunning scenery. Whether you’re a beginner or an experienced photographer, this article will help you make the most of your Great Sand Dunes National Park camera experience.
What Are the Best Camera Settings for Daytime Photography at Great Sand Dunes?

When photographing Great Sand Dunes National Park during the day, consider the following settings:
- Aperture: Use f/11 to f/16 for a wide depth of field
- ISO: Start with 100 for minimal noise, increase to 400-500 for telephoto shots
- Shutter Speed: 1/100 to 1/200 second for most scenes
- White Balance: “Daylight” or “Cloudy” to preserve natural colors
These settings will help you capture the expansive dunes and intricate sand patterns with clarity and detail.
How to Capture Stunning Golden Hour Shots?

The golden hour, occurring during early mornings and late afternoons, offers the best light for photography at Great Sand Dunes. To make the most of this magical time:
- Arrive early to scout locations and set up your equipment
- Use a tripod for stability in low light conditions
- Experiment with different compositions to capture long shadows and warm light on the dunes
- Consider using a graduated neutral density filter to balance exposure between bright sky and darker foreground
What Camera Settings Work Best for Nighttime and Astrophotography?
Great Sand Dunes National Park is an excellent location for astrophotography. Use these settings for capturing the night sky:
- Lens: Wide-angle (14-16mm or 24mm)
- Aperture: Low f-stop (F2.8 or F4)
- ISO: 3200
- Focus: Manual, set to infinity or focus on a bright star
- Shutter Speed: Adjust based on test shots (shorter if stars are trailing, longer if too dark)
Remember to use a sturdy tripod and a remote shutter release to minimize camera shake.
Which Camera Models and Gear Are Recommended for Great Sand Dunes?
For optimal results at Great Sand Dunes National Park, consider the following equipment:
| Equipment Type | Recommendations |
|---|---|
| Camera Body | Full-frame or high-end APS-C with good low-light performance |
| Lenses | Wide-angle (16mm or wider), Telephoto (100-400mm) |
| Accessories | Sturdy tripod, Neutral density filters, Lens cleaning kit |
Weather-sealed equipment is highly recommended due to the sandy and potentially windy conditions in the park.
How to Protect Your Camera from Sand and Wind?
Protecting your camera gear is crucial at Great Sand Dunes. Follow these tips:
- Use weather-sealed equipment when possible
- Keep your camera in a protective bag when not in use
- Use clear filters on lenses for additional protection
- Clean your gear regularly with a blower and microfiber cloth
- Consider using a rain cover or plastic bag for extra protection during windy conditions
What Are the Best Locations for Photography in Great Sand Dunes National Park?
Great Sand Dunes offers numerous photographic opportunities. Some prime locations include:
- High Dune: Offers panoramic views of the dune field and surrounding mountains
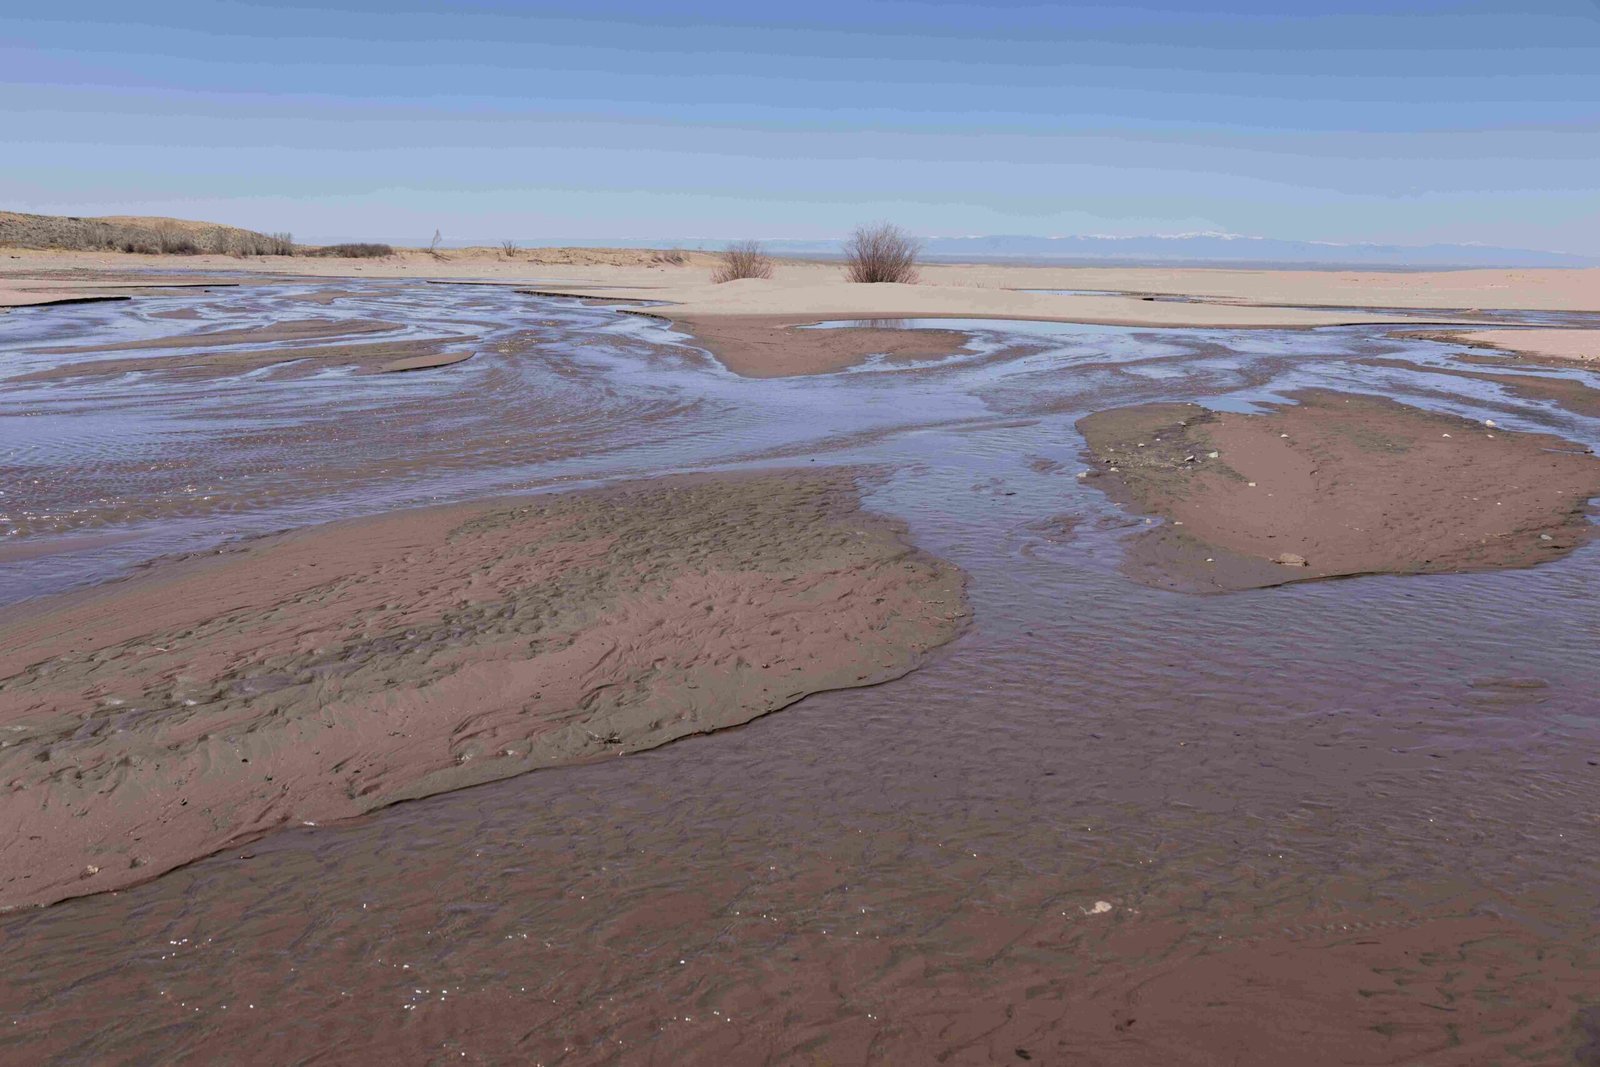
- Medano Creek: Seasonal stream with reflections and interesting patterns
- Sangre de Cristo Mountains: Provides a dramatic backdrop for dune photos
- Star Dune: The tallest dune in North America, offering unique perspectives
Each location offers different compositions and lighting conditions throughout the day.
How to Capture Unique Sand Patterns and Textures?
To highlight the intricate patterns and textures of the sand dunes:
- Start with a wide shot to establish context
- Gradually zoom in on interesting patterns or textures
- Use side-lighting to emphasize shadows and ripples in the sand
- Experiment with different angles and perspectives
- Consider using a macro lens for close-up shots of sand grains
What Techniques Work Best for Managing Harsh Midday Light?
While midday light can be challenging, it can also create interesting effects:
- Use the harsh light to emphasize deep shadows and distinct lines
- Consider converting images to black and white to accentuate contrast
- Use a polarizing filter to reduce glare and enhance sky color
- Focus on smaller scenes or details rather than wide landscapes
- Look for interesting shadows cast by vegetation or rock formations
How to Prepare for Changing Weather Conditions?
Weather at Great Sand Dunes can be unpredictable. Be prepared by:
- Checking weather forecasts before your visit
- Bringing layers of clothing for temperature changes
- Carrying extra batteries and memory cards
- Packing a rain cover for your camera
- Being flexible with your shooting schedule to adapt to changing conditions
By following these tips and techniques, you’ll be well-equipped to capture stunning images with your Great Sand Dunes National Park camera. Remember to respect the park’s rules and leave no trace as you explore and photograph this unique landscape.
References:
1. Photographing Great Sand Dunes National Park
2. Capturing Astrophotography in Colorado’s Great Sand Dunes National Park
3. How to Photograph Sand Dunes